프로젝트 설계 후 코딩을 시작하기 전, 먼저 확인해야 하는 부분이 있었는데..
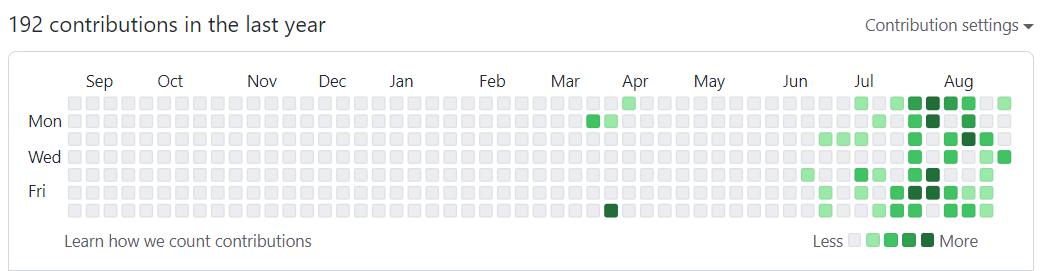
바로 사용자의 깃허브 계정을 통해 contribution 정보를 받아오는 것이다.
듣기로 GitHub API가 따로 있어 쉬울 줄 알았다.
막상 구글링을 해보니, GitHub의 여러 정보들을 가져오는 방법들은 많았지만
GitHub의 잔디 정보를 가져오는 방법은 찾기가 힘들었다.
그러다 GitHub GraphQL API를 통해 가져올 수 있다는 사실을 알게되었다.
How to retrieve contribution graph data from the GitHub API
github contribution graph
medium.com
GraphQL에 대한 것은 종종 들어보긴 했지만, Kotlin으로 사용하는 사례는 본 적이 없었다.
다행히 kotlin, java에서 사용할 수 있는 Apollo Kotlin API가 있었다.
gradle 설정
plugins {
    // ...

    id("com.apollographql.apollo3").version("3.5.0")
}
dependencies {
// ...
implementation("com.apollographql.apollo3:apollo-runtime:3.5.0")
implementation("androidx.lifecycle:lifecycle-runtime-ktx:2.4.0")
}플러그인을 적용하고, 라이브러리를 추가해준다.
apollo {
    packageName.set("com.example.graphqlsample.queries")
}
gradle 맨 아래에 추가해준다.
패키지 이름이므로, 이름은 임의로 설정해줘도 된다.
Manifest 설정
<uses-permission android:name="android.permission.INTERNET" /><application 위에 인터넷 퍼미션을 추가해준다.
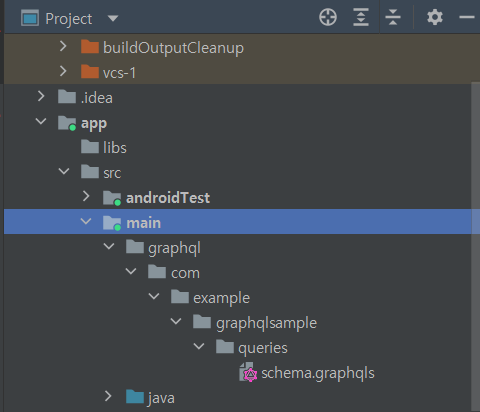
schema 파일 다운받기
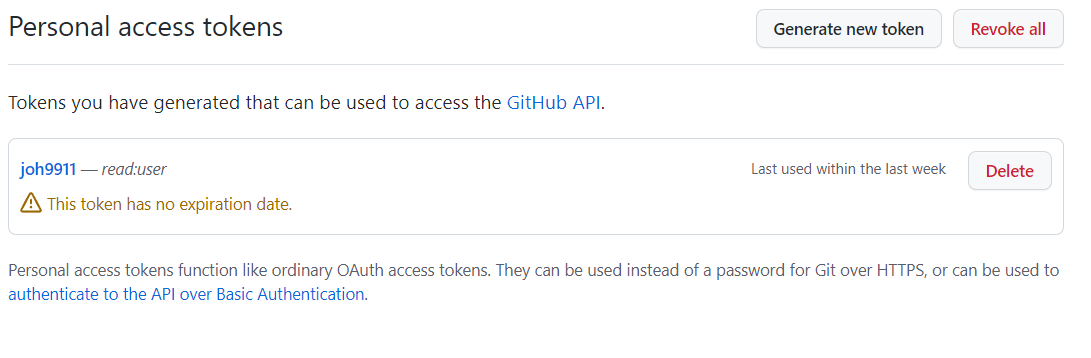
먼저 GitHub Personal access tokens를 생성해야한다.
권한 설정은 read: user만 체크하면 된다.
토큰 발행 과정은 생략하겠다.
이제 Android Studio의 terminal에 해당 명령어를 입력한다.
./gradlew :app:downloadApolloSchema --endpoint="https://api.github.com/graphql" --schema='app/src/main/graphql/com/example/graphqlsample/queries/schema.graphqls' --header="Authorization: Bearer ${GitHub token]"
--다음 글자는 띄어쓰기를 하지 말아야 한다.
ex) --schema, --header
schema='app/src/main/graphql/com/example/graphqlsample/queries/schema.graphqls'
굵은 부분은 [디렉토리]/[파일명] 이다.
위에서 설정한 패키지 명 그대로 적어준다.
header="Authorization: Bearer ${GitHub Token}"
ex) header="Authorization: Bearer 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"
철자가 하나라도 틀리면 오류가 난다!!
필자는 Authorization 철자를 틀려 2시간 동안 삽질한 경험이 있는데,
매우 화가 났던 기억이 있다...

Build Failed가 뜨면 오류 내용을 잘 읽어보기 바란다.
Build Success와 함께 schema file이 생성된다.
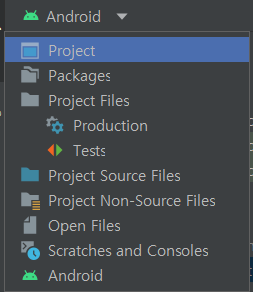
혹시나 모를까봐 덧붙히는데, project mode로 봐야한다.
쿼리 파일 작성
graphql 형식의 파일을 작성한다. 이름을 ~~~.graphql 로 작성하면 된다.

해당 쿼리문을 붙여넣기 한다.
query GithubCommit($userName:String!) {
    user(login: $userName){
        contributionsCollection {
            contributionCalendar {
                totalContributions
                weeks {
                    contributionDays {
                        color
                        contributionCount
                        date
                    }
                }
            }
        }
    }
}
여기서 나는 query 이름을 GithubCommit으로 설정했다. 이것은 생성될 클래스의 이름이 되므로,
원하는 이름을 적어도 된다.
그 후 프로젝트를 Rebuild를 한다.
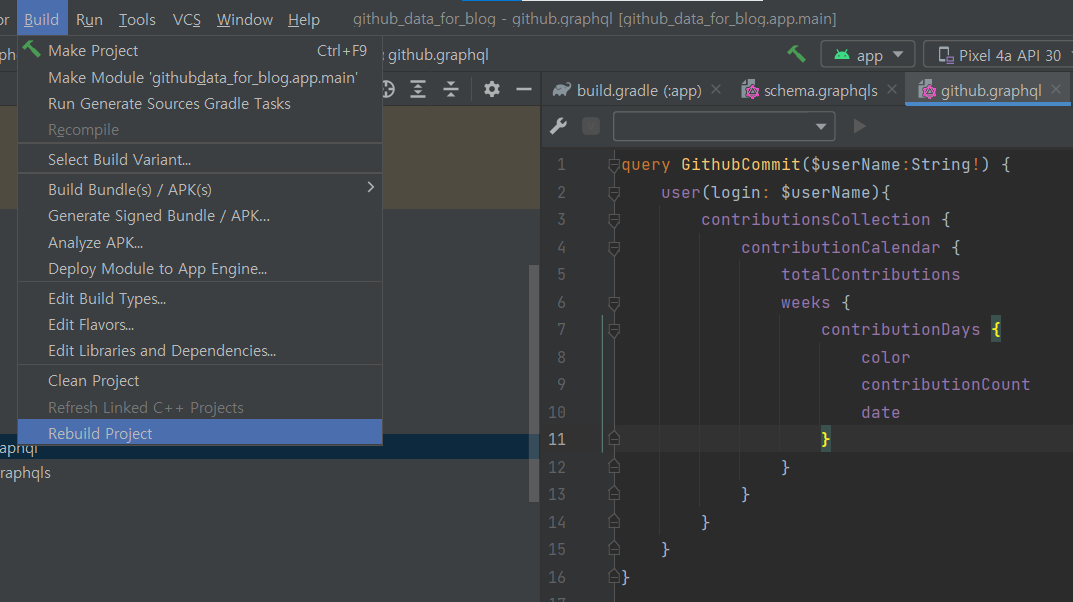
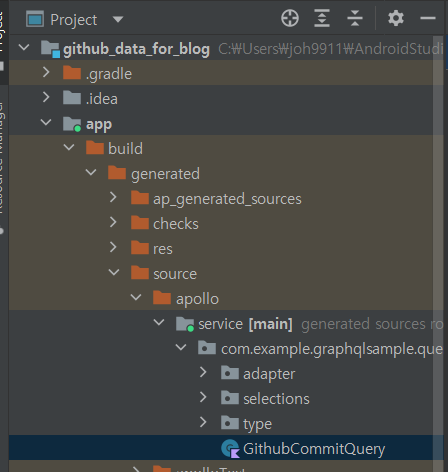
build가 끝나면, 쿼리의 이름으로 클래스 파일이 자동 생성됨을 볼 수 있다.
기존의 schema 파일 형식이 graphqls 이므로, 맨 첨에 뭣도 모르고 ~~~.graphqls로 파일을 생성했었다.
graphql과 graphqls 두 형식의 문법이 차이가 있나보다.. 실행 가능한 type definition이 있다는 오류가 떴고,
이 부분에서도 삽질을 많이 했었다.
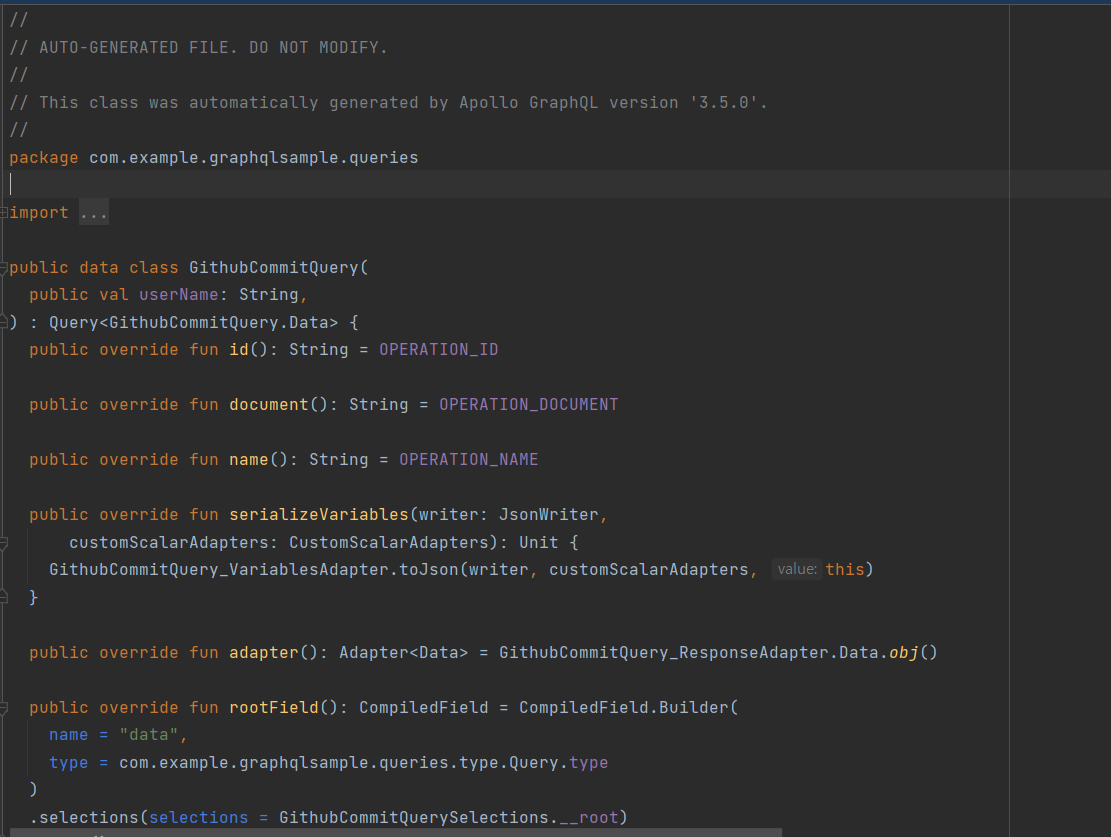
우리는 이 파일을 수정할 수 없다. 빌드 될 때마다 항상 저렇게 재생성된다.
이 말은, 데이터를 parcelize 하여 intent를 통해 값 전달이 불가능하다는 것을 뜻한다.
이 값들을 어떻게 전달하려고 시도했는지는 나중에 다루겠다.
이제 저 생성된 클래스를 이용해야 한다.
class MainActivity: AppCompatActivity() {
    val apolloClient = ApolloClient.builder()
        .serverUrl("https://api.github.com/graphql")
        .build()

    override fun onCreate(savedInstanceState: Bundle?) {
        super.onCreate(savedInstanceState)
        setContentView(R.layout.activity)
        buttonClickEvent()
    }

    fun buttonClickEvent(){
        val button = findViewById<Button>(R.id.github_button)
        button.setOnClickListener {
            lifecycleScope.launchWhenResumed {
                val githubData = apolloClient.query(GithubCommitQuery("joh9911")).execute()
                Log.d("githubData", "Success ${githubData.data}")
            }
        }
    }
}
}
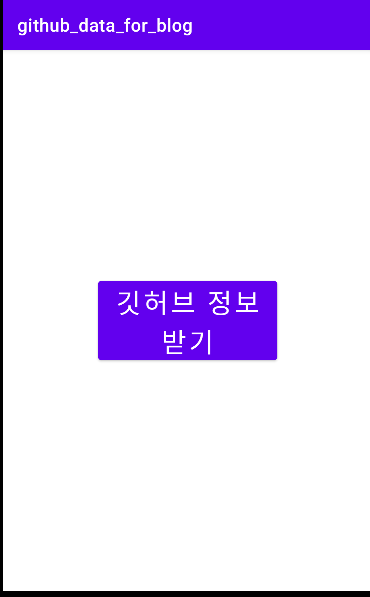
버튼을 누르면 Log로 깃허브 정보가 뜨도록 코드를 작성하였다.
쿼리는 꼭 코루틴 안에서 실행을 시켜야 한다.
이제 버튼을 누르면 실행이 되겠지?? 싶었지만

다음과 같은 오류가 뜬다.
구글링을 해보니 오류 코드 '401' 은 Authorizaion 관련 문제라고 나왔다.
즉 해당 리소스에 유효한 자격 증명이 없다라는 것이다.
해당 API의 Document를 뒤져보고, HTTP interceptors라는 것을 발견하였다.
깃허브 토큰을 가지고 이 인터셉터와 함께 성공적으로 인증할 수 있었다.
class MainActivity: AppCompatActivity() {
    val apolloClient = ApolloClient.builder()
        .addHttpInterceptor(AuthorizationInterceptor("나의 토큰")) //해당 코드 추가
        .serverUrl("https://api.github.com/graphql")
        .build()

    inner class AuthorizationInterceptor(val token: String) : HttpInterceptor { // 인증을 도와주는 클래스
        override suspend fun intercept(
            request: HttpRequest,
            chain: HttpInterceptorChain
        ): HttpResponse {
            return chain.proceed(
                request.newBuilder().addHeader("Authorization", "Bearer $token").build()
            )
        }
    }

    override fun onCreate(savedInstanceState: Bundle?) {
        super.onCreate(savedInstanceState)
        setContentView(R.layout.activity)
        buttonClickEvent()
    }

    fun buttonClickEvent(){
        val button = findViewById<Button>(R.id.github_button)
        button.setOnClickListener {
            lifecycleScope.launchWhenResumed {
                val githubData = apolloClient.query(GithubCommitQuery("joh9911")).execute()
                Log.d("githubData", "Success ${githubData.data}")
            }
        }
    }
}
최종 코드이다.
다시 에뮬레이터를 실행하고 로그를 보면,

겁나 긴 배열형태로 출력이 되는 것을 확인할 수 있다!
'안드로이드 프로젝트 > 개발자 키우기 게임' 카테고리의 다른 글
| [Kotlin]잔디 수확 시스템 만들기(GrassActivity 마무리) (0) | 2022.09.08 |
|---|---|
| [Kotlin] Fragment 동적 생성 후 잔디 형태 구현하기 (1) | 2022.09.08 |
| [Kotlin] GridLayout에 동적으로 addView 해주기 (0) | 2022.09.03 |
| [Kotlin] GitHub 잔디(contribution)정보 나누고 할당하기 (0) | 2022.09.03 |
| [Kotlin] 키우기 게임 만들기 (0) | 2022.08.31 |


댓글